
Hammerhead Stoneworks: Traditional residential stone masonry & art mosaics
Hammerhead Stoneworks is Asheville’s Premier Stone Builder
Hammerhead Stoneworks is a craft-driven stone masonry company based in Asheville, North Carolina. We run a small crew, a team of four highly skilled, creative masons, who have collaborated on projects for a decade. We care a lot about our work and about each other. Preserving and enhancing the craft of stonework is our shared mission.
Hammerhead Stoneworks builds stone patios, pathways, steps, and walls, as well as a host of other creative stone features. Based in Asheville, North Carolina, we serve Buncombe County, working in Fairview, Arden, Biltmore Forest, Biltmore Park, and Weaverville. Though based in Asheville, we will travel to work on stonework projects throughout the southeast. We have built patios in Chapel Hill, Lake James, and Atlanta, and have done public art projects in Florida and Virginia.
We only work with natural stone, much of which is sourced regionally. Many of our stone projects feature materials quarried in North Carolina, Tennessee, and Pennsylvania. Local stone looks more appropriate to the site and vernacular. It also is better for the environment, requiring less fuel to arrive to the work site.
We primarily build drystone, which means we don’t use concrete, mortar, or grout. This is an old-school approach to the craft. We take great pride in the beauty and durability of our work. We draw on techniques that have been developed and honed for thousands of years. We see ourselves as part of a lineage of craft that builds stone structures to last, that places quality above all else, and that offers something tangible, beautiful, and grounded to a world that is increasingly floating in digital clouds.
In addition to building with stone, we design many of our projects. We take a holistic approach to design, working to understand our clients’ needs and ambitions, exploring the site opportunities and limitations, and trying to maximize budget and create something beautiful and timeless.
At Hammerhead, we pay special attention to drainage and erosion control issues, crucial concerns here in the mountains of Western North Carolina. We strive to create enduring works of stone craftsmanship that will last for generations.
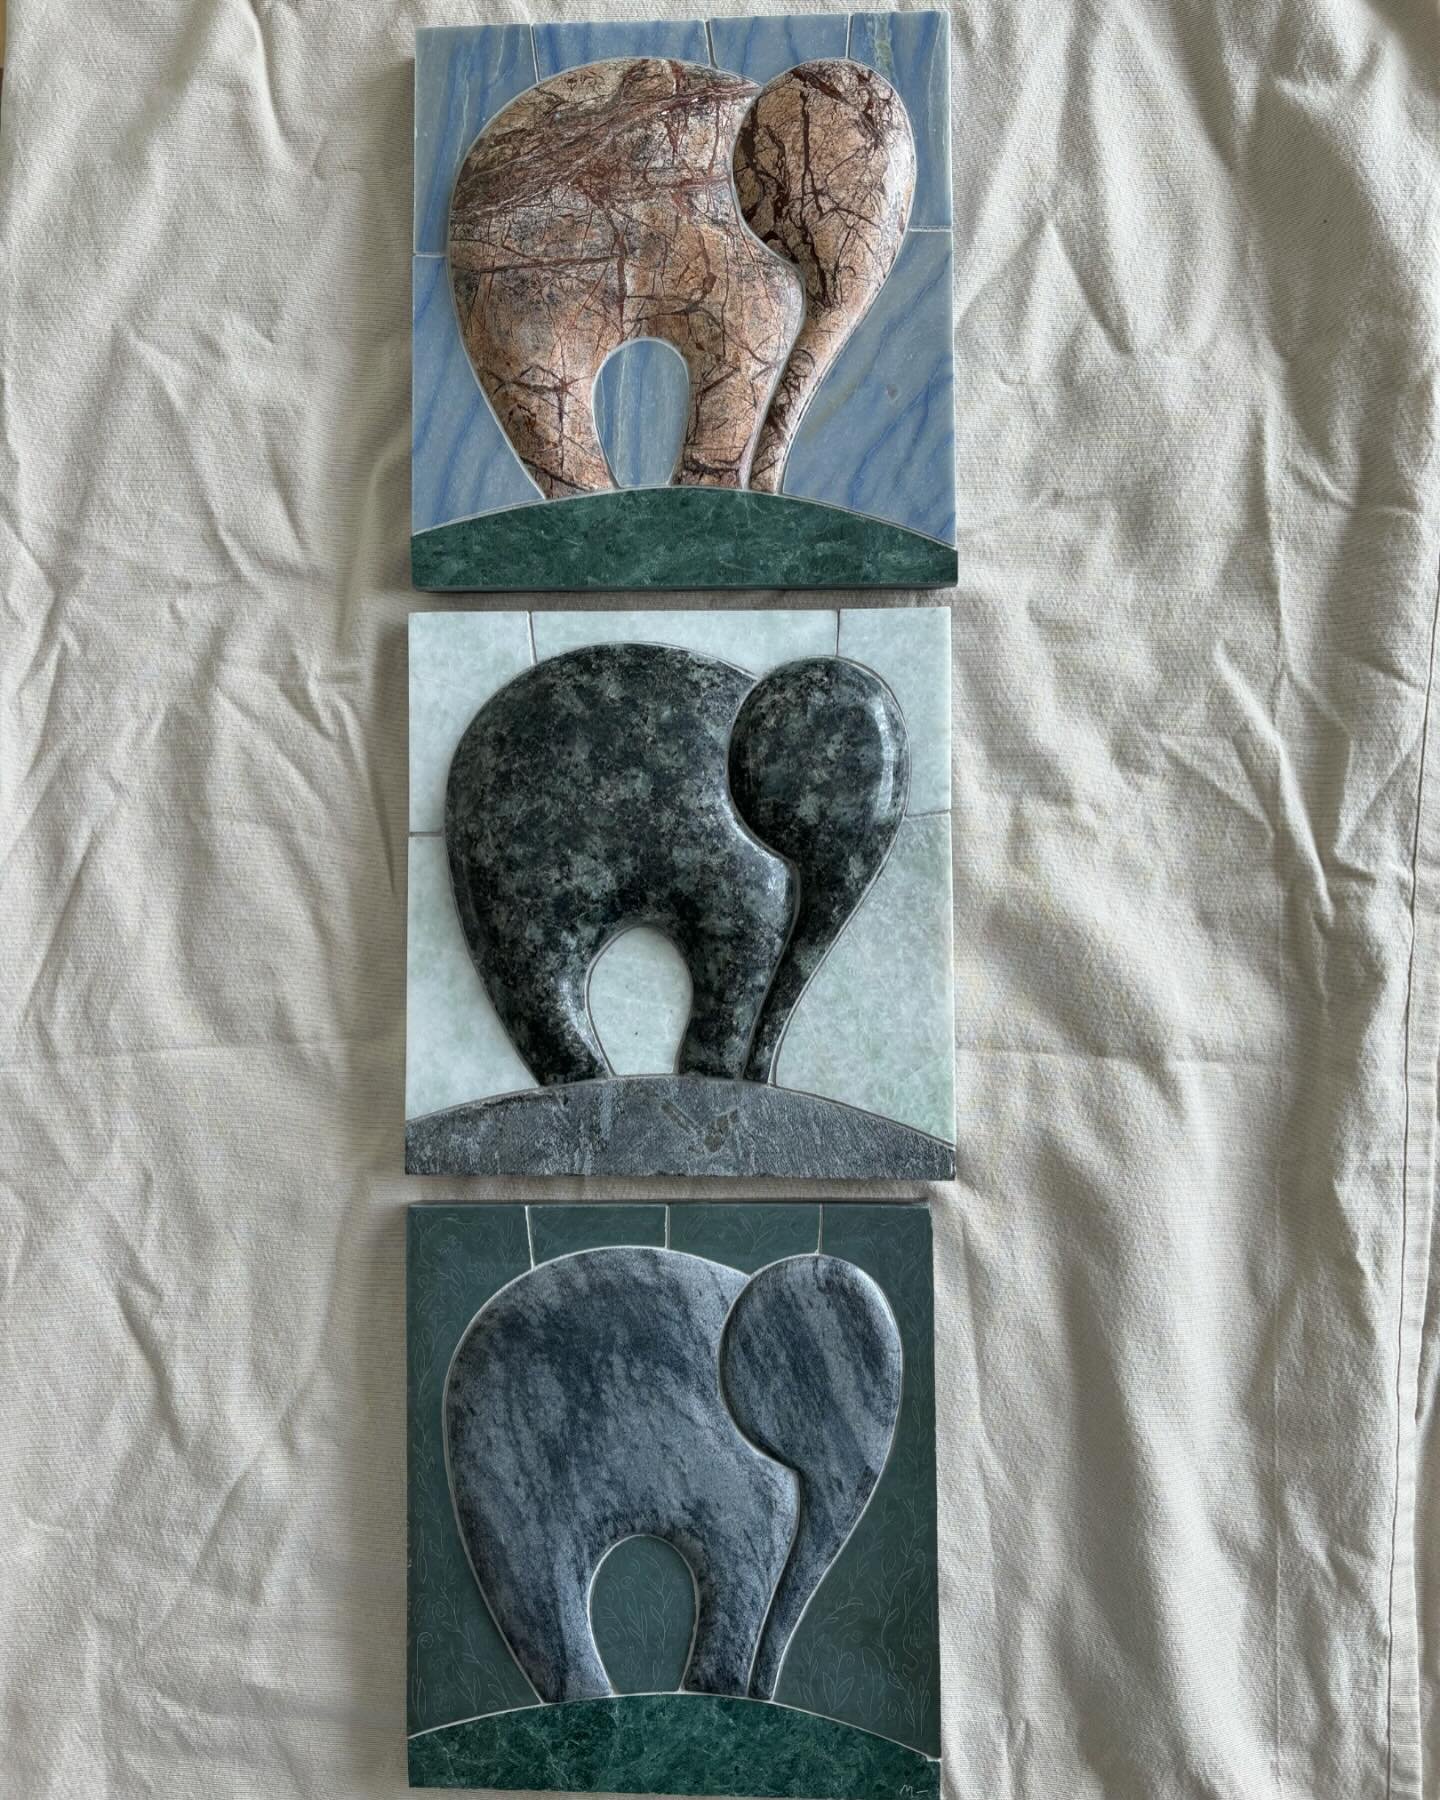
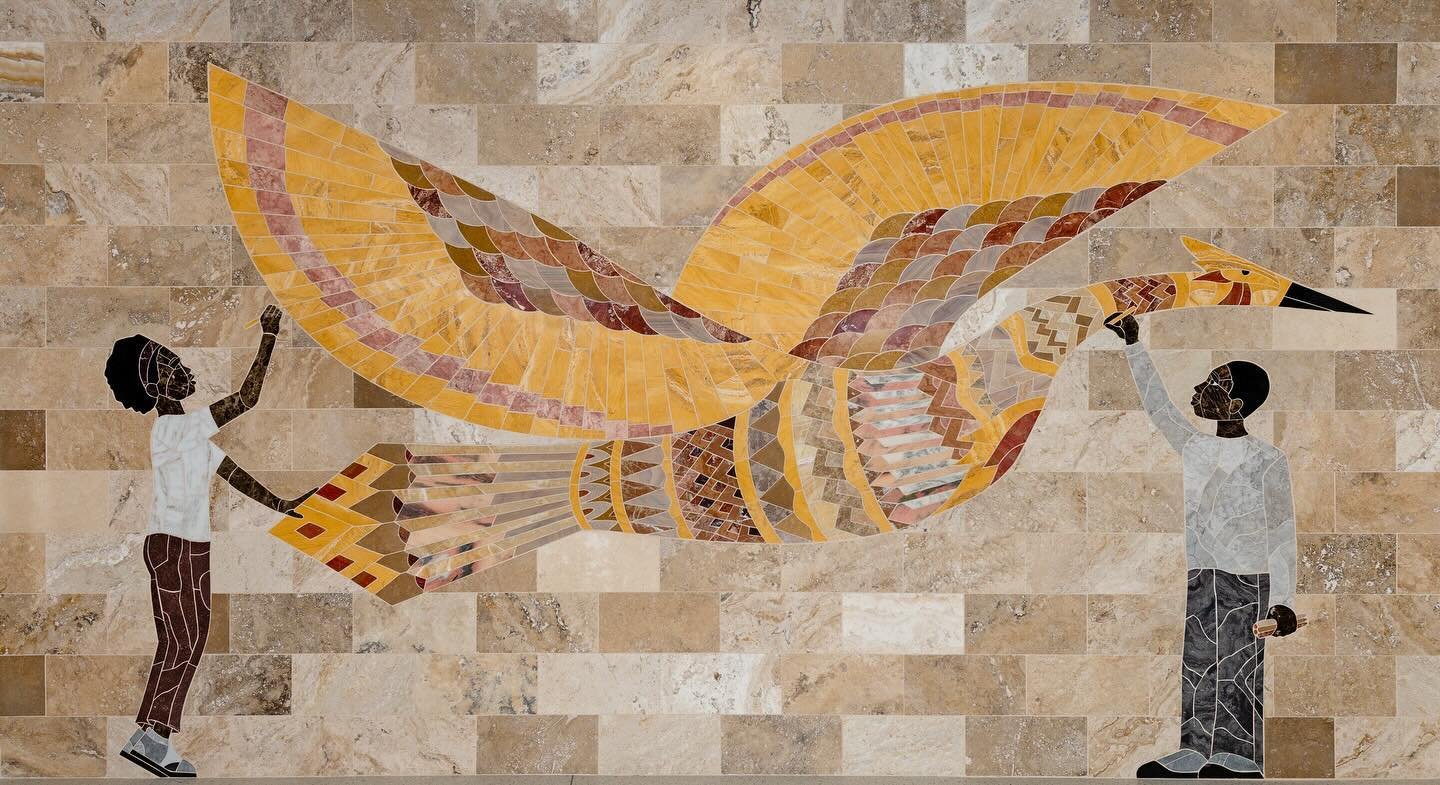
We also build stone mosaics in a style known as opus sectile. Large pieces of stone tile are cut into specific shapes and patterns to paint pictures with stone. Our mosaics are found in schools, private collections, and public settings.

STONE PATIOS
Hammerhead builds stone patios that are laid dry over gravel. Beautiful slabs of flagstone are tightly fitted together creating flat surfaces, outdoor floors ideal for entertaining or just hanging out with your morning coffee. Decorative gravel fills the joints, which are narrow enough to discourage weed growth and provide good support for patio furniture.

FLAGSTONE PATHS
At Hammerhead we build flagstone paths that are laid dry over gravel, like our patios. Tight joints, careful selection, and placement of stone, and good design make our walkways one-of-a-kind statements for your home.
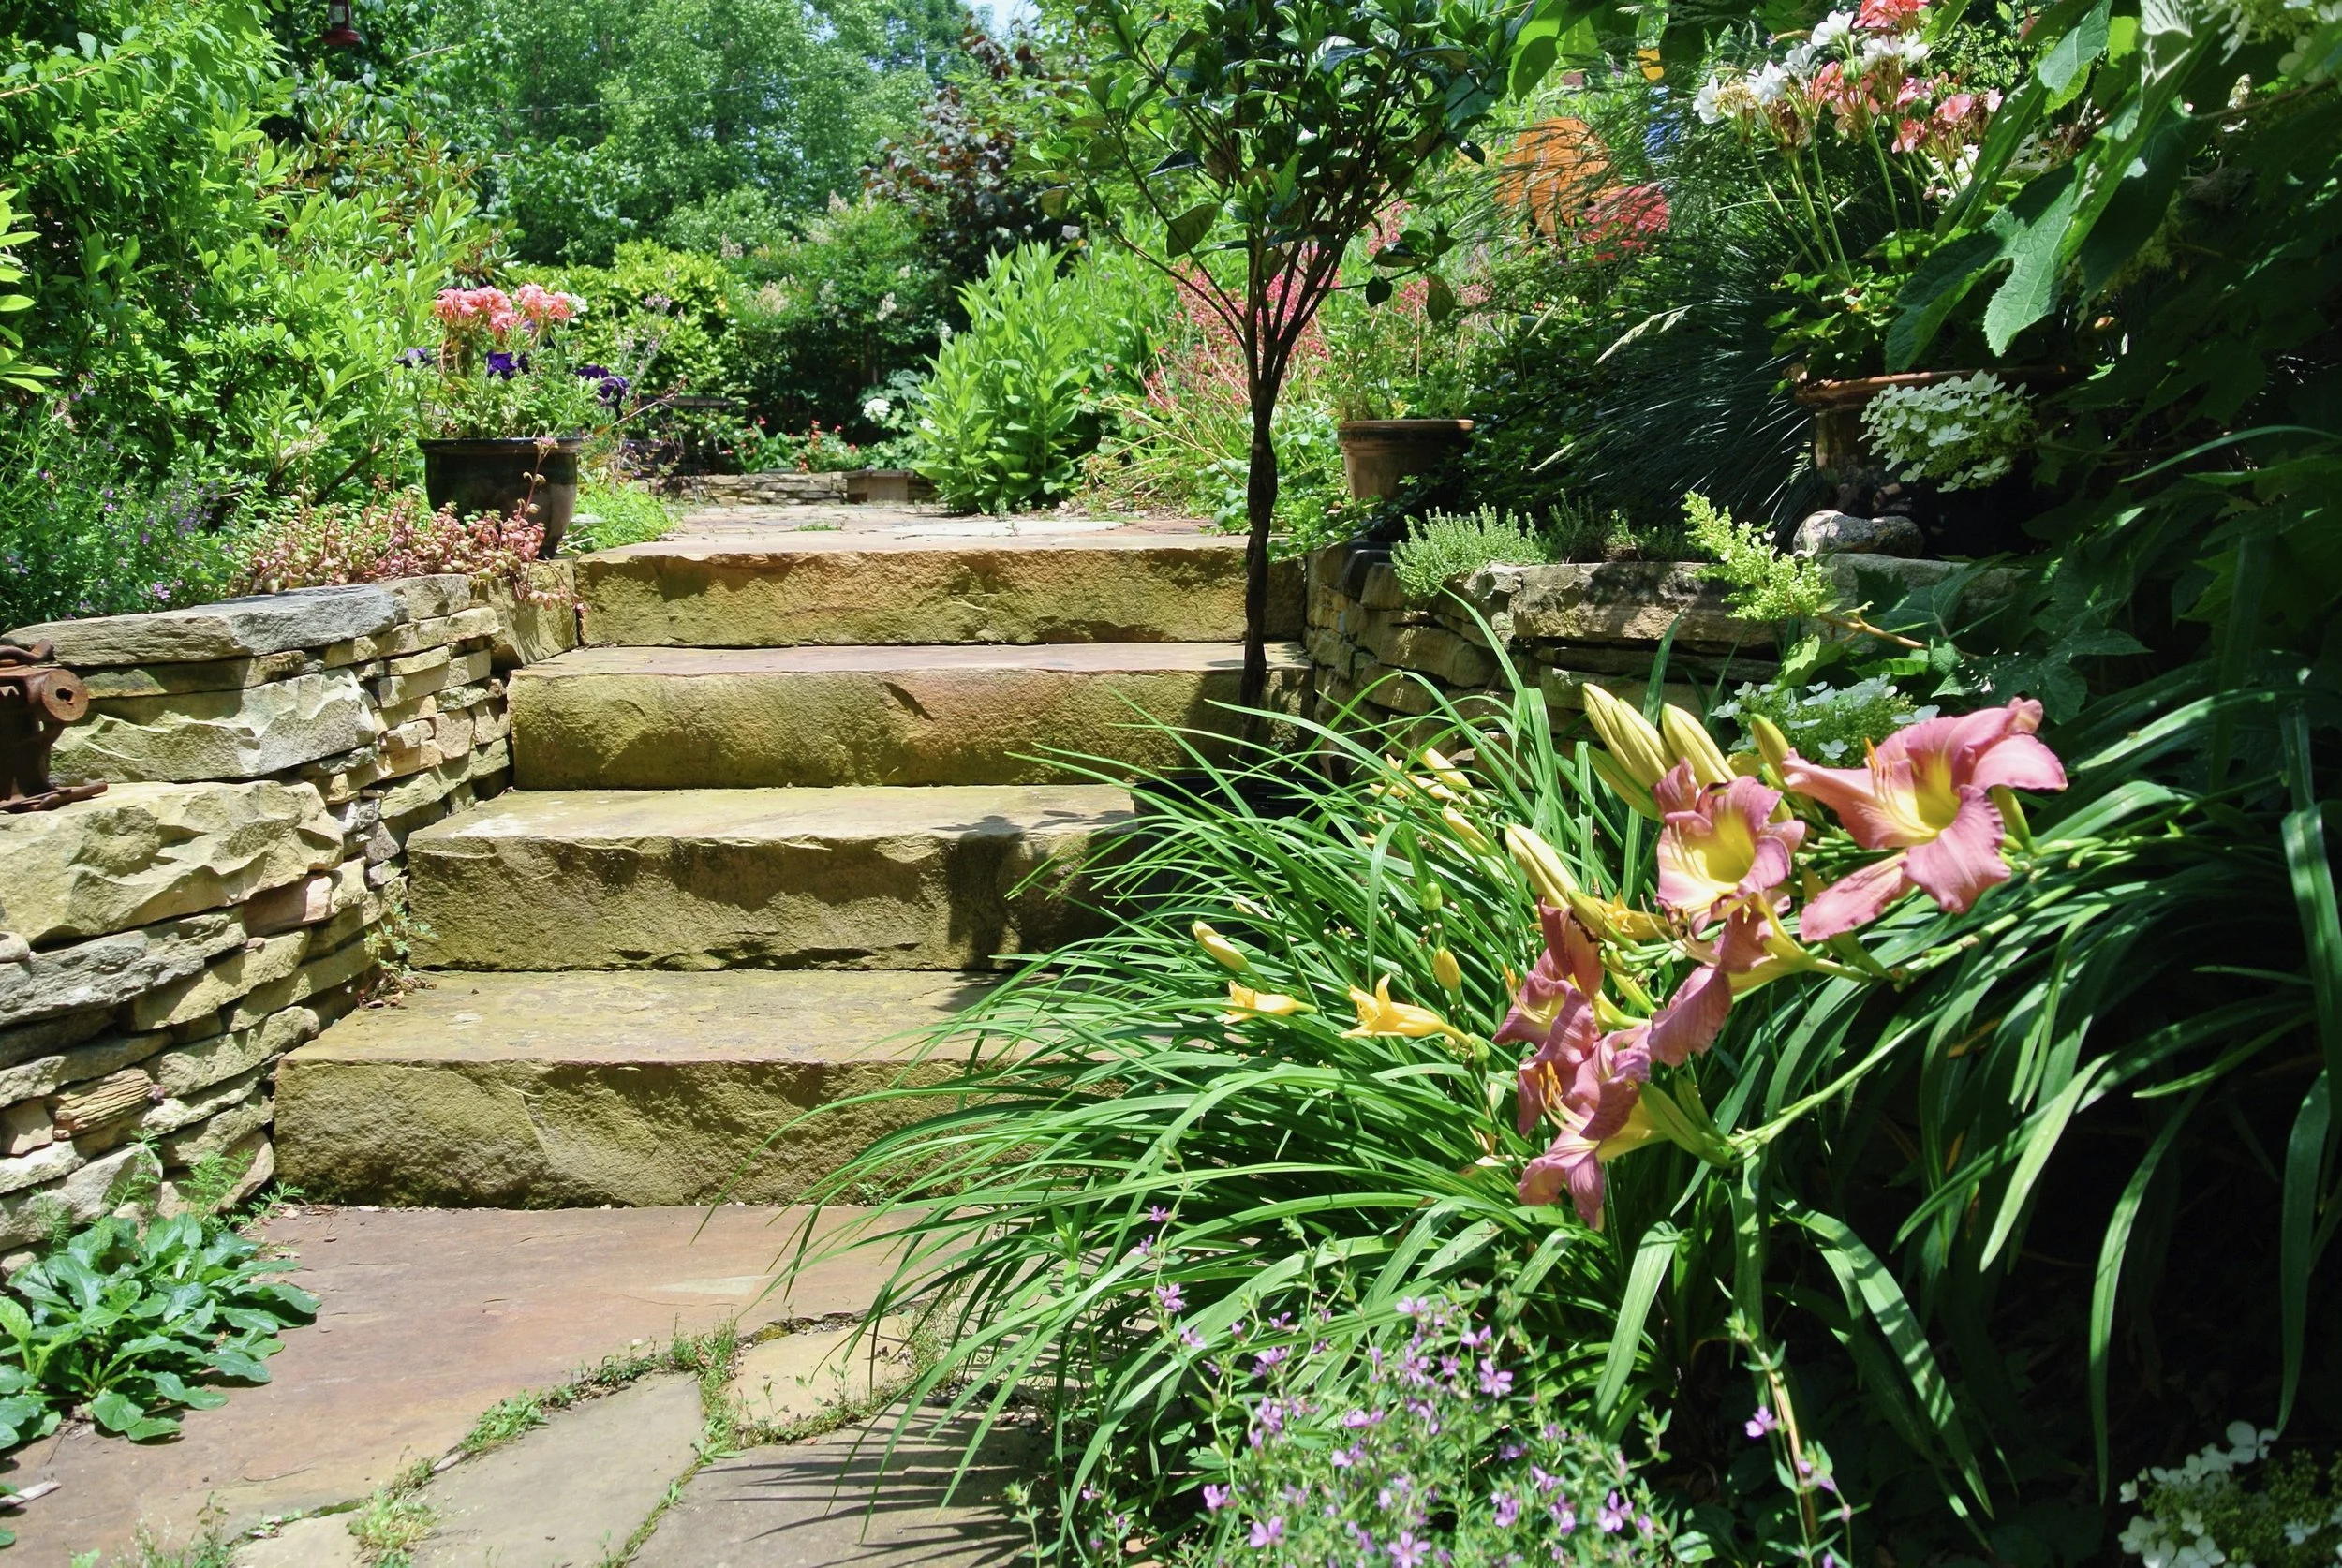
STONE STEPS
Stone steps help move people through our steep mountain landscape. At Hammerhead, we offer three styles of steps: Formal, Slab, and Rustic. We build staircases that lead into homes and onto stones stoops. We also build stone steps that help people access driveways, gardens, and even their new patios!
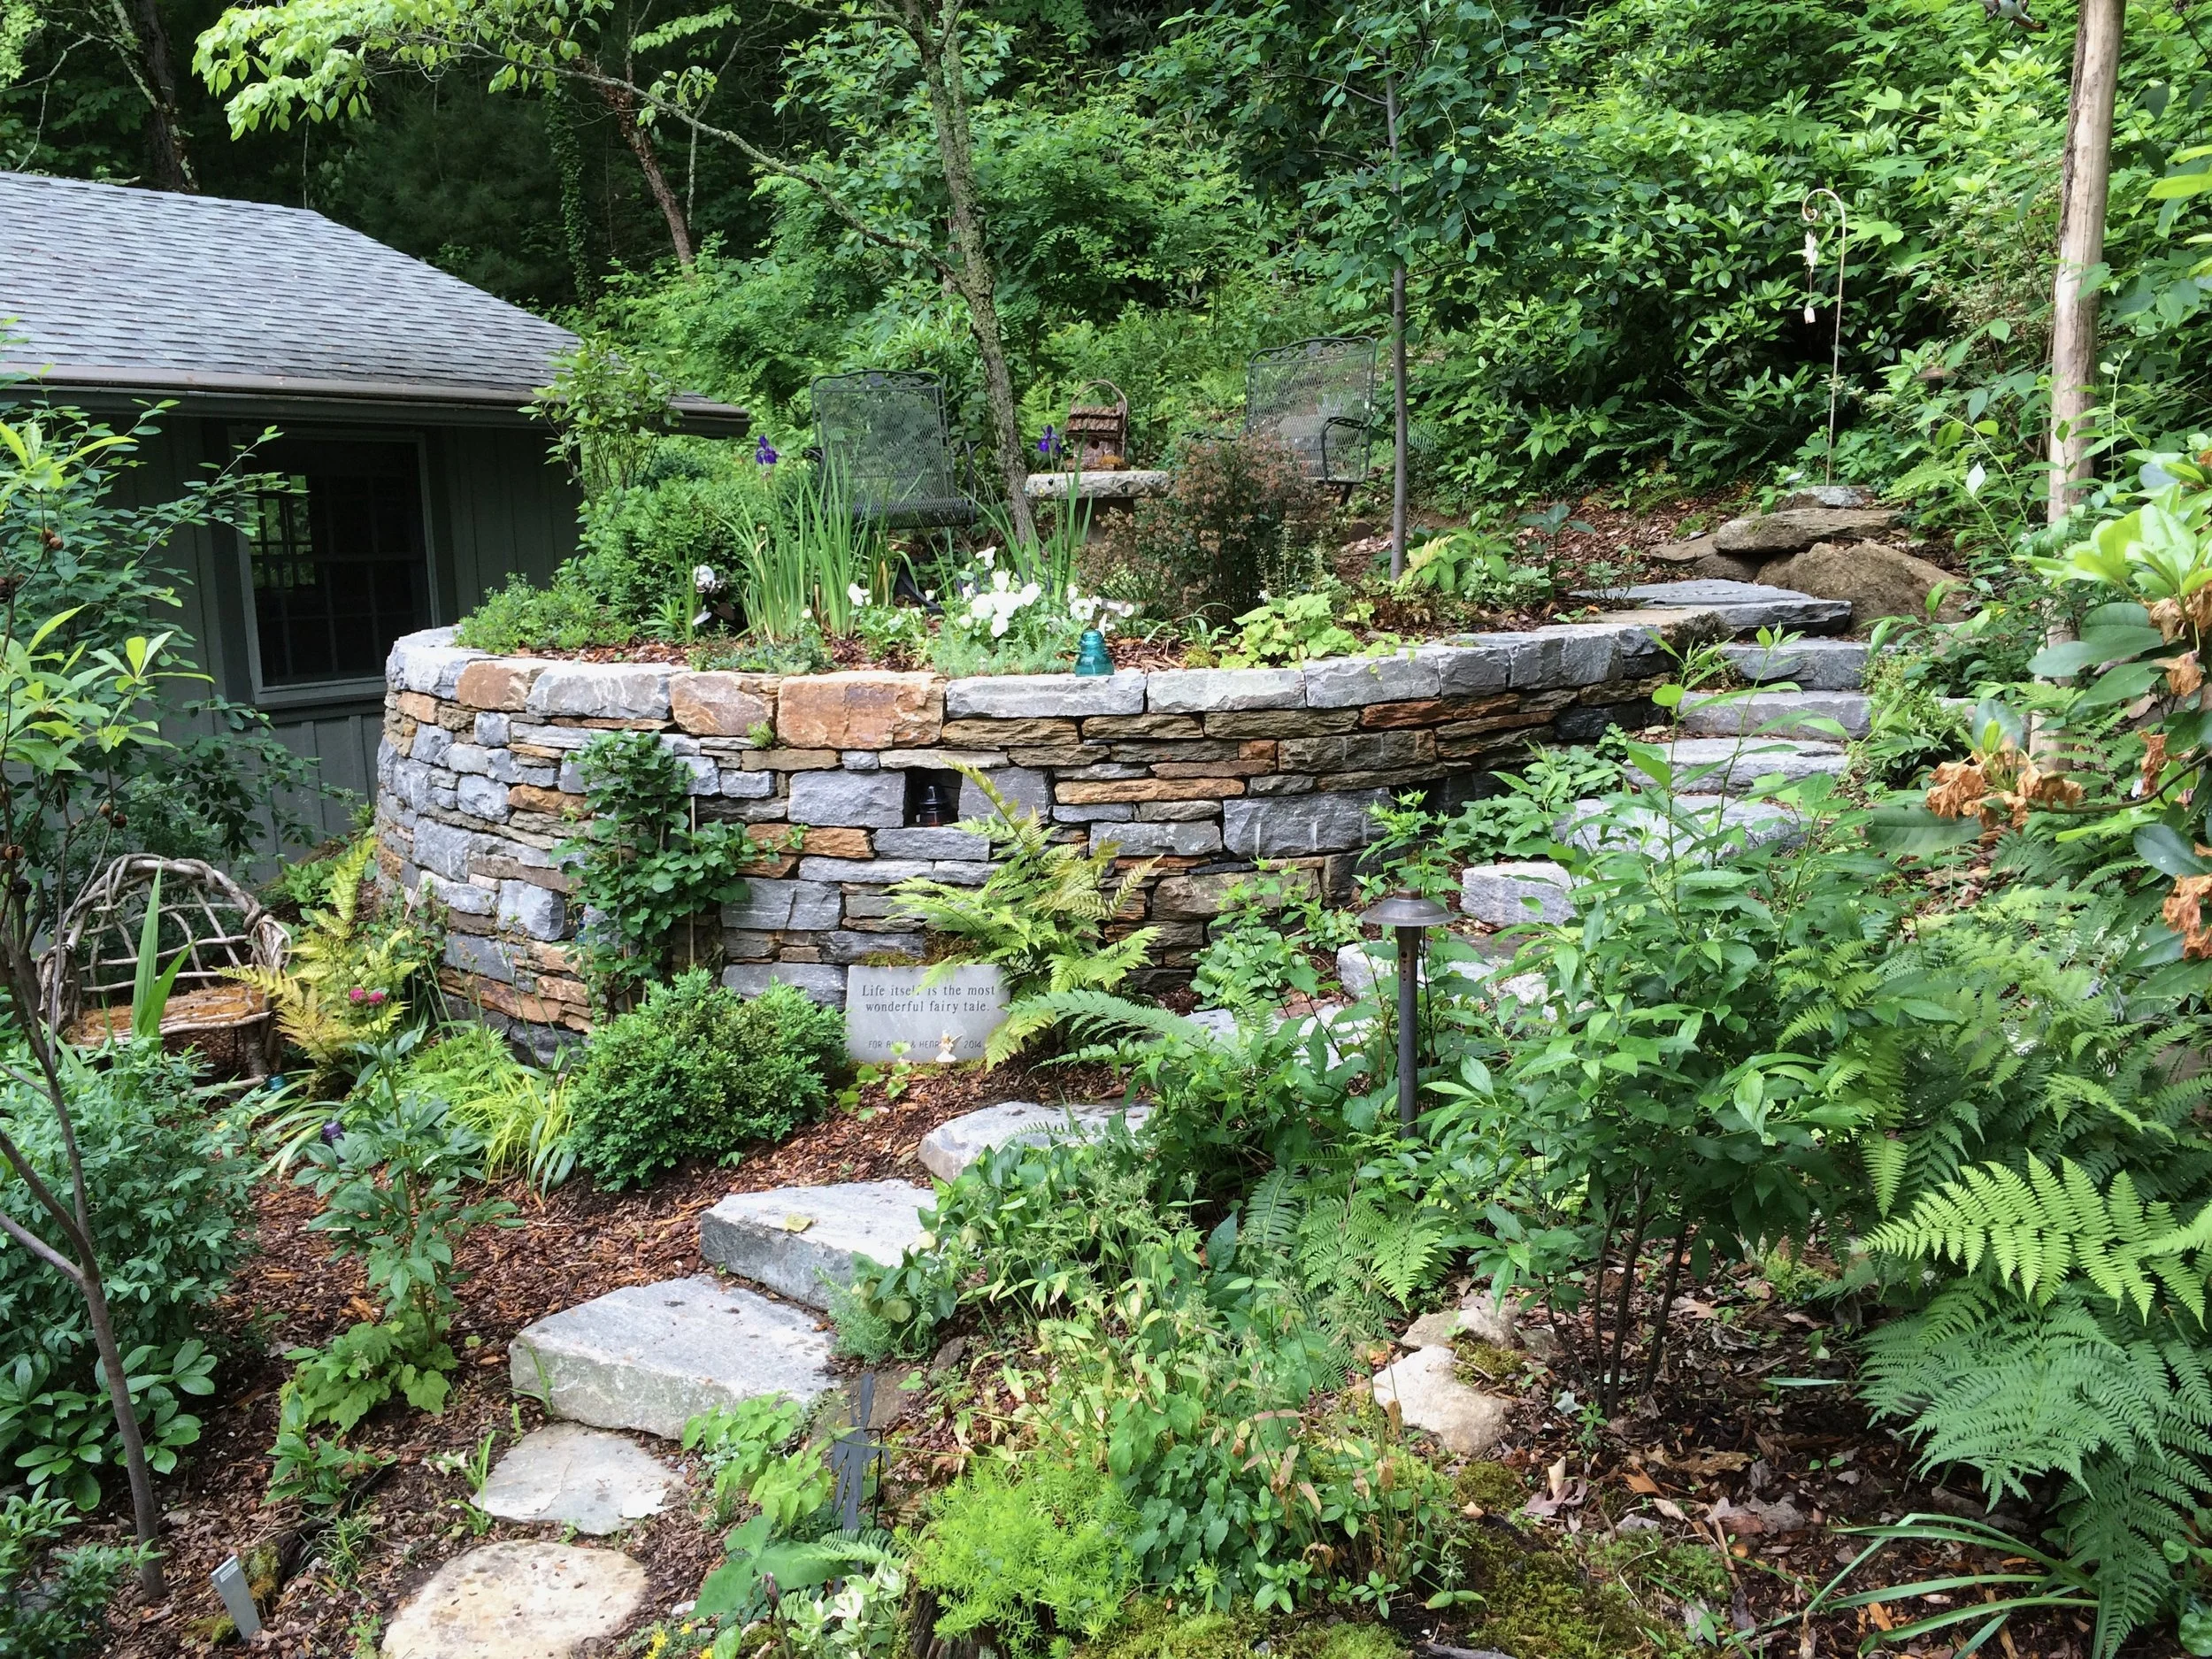
STONE WALLS
Hammerhead Stoneworks builds drystone retaining walls that are strong and beautiful, intended to last for generations. Drystone walls are a wonderful solution for many issues we face here in the mountains. Some of our walls hold things up: supporting patios, gardens, and play areas. Sometimes our walls hold earth back, keeping soil and mulch from accumulating on patios, paths, and driveways.
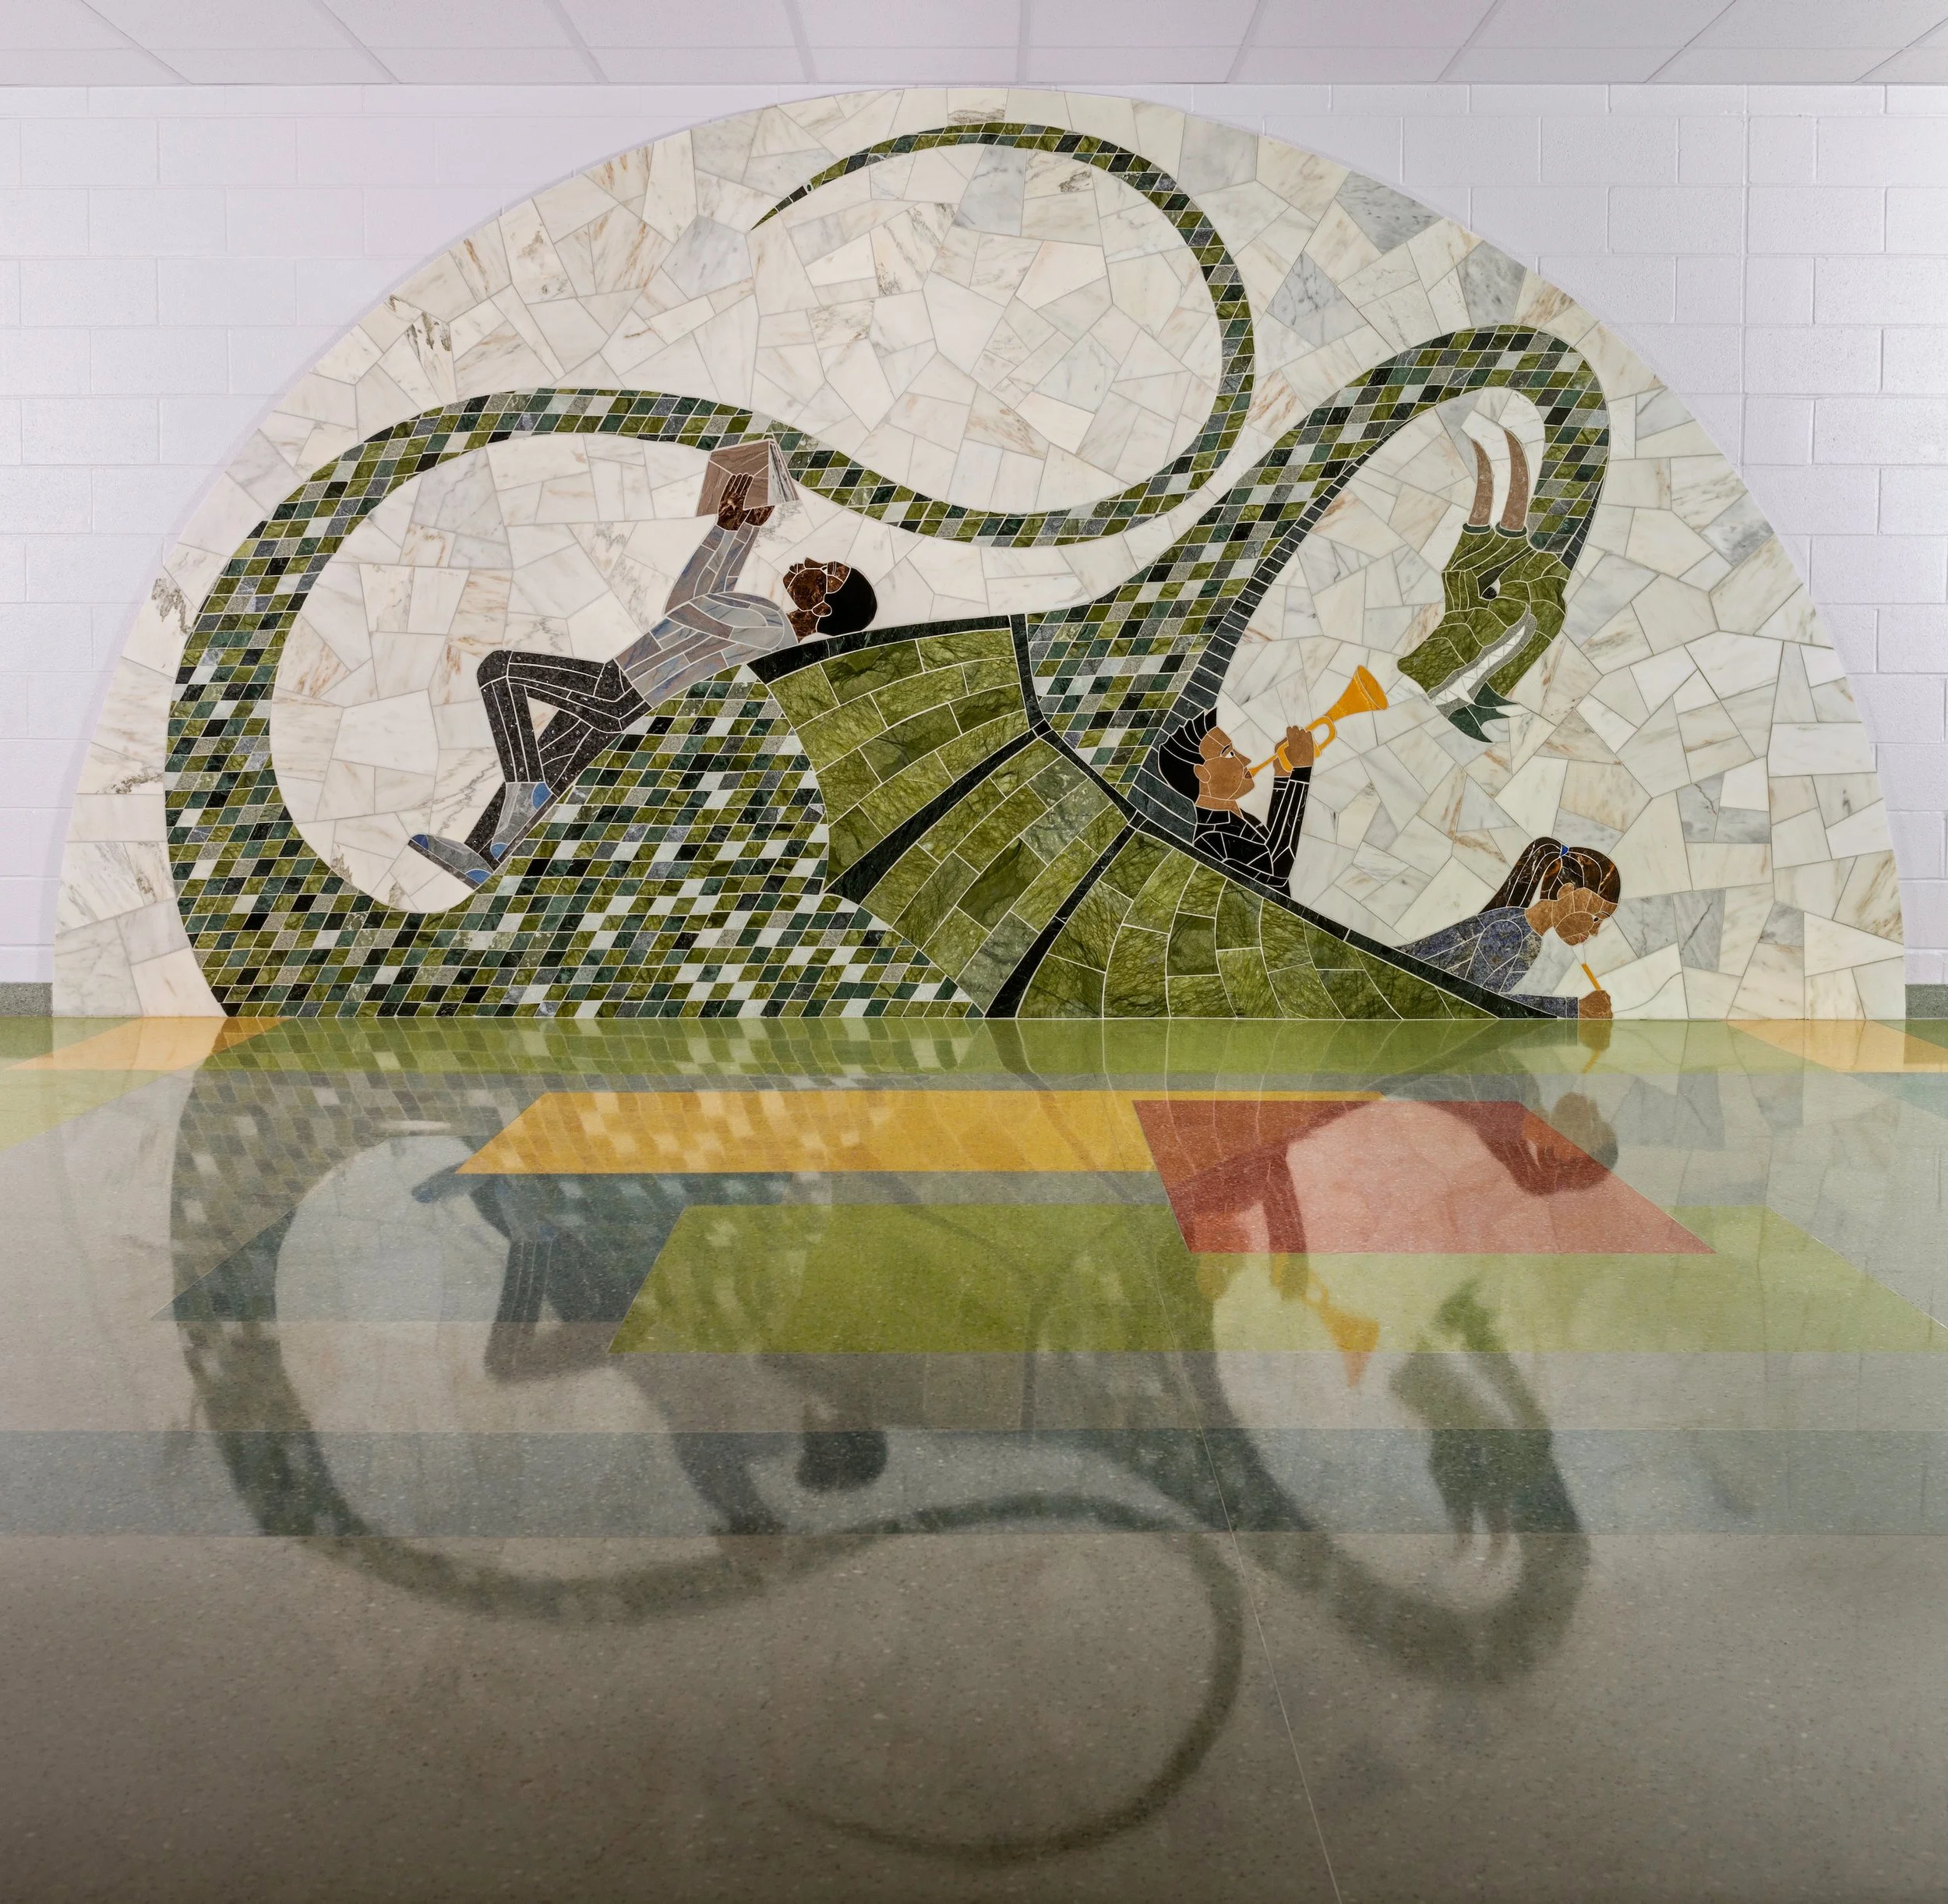
PUBLIC ART MOSAICS
Stone steps help move people through our steep mountain landscape. At Hammerhead, we offer three styles of steps: Formal, Slab, and Rustic. We build staircases that lead into homes and onto stones stoops. We also build stone steps that help people access driveways, gardens, and even their new patios!
Follow Hammerhead Stoneworks on Instagram


Contact us
Reach out via email and we’ll be back in touch with 24 hours